
WiFi Hidden Camera Setup Troubleshooting (TinyCam Pro, HDSmartIPC, LookCamPro)
If you’re having trouble getting your camera to connect to your WiFi network, there are several possible causes and solutions.
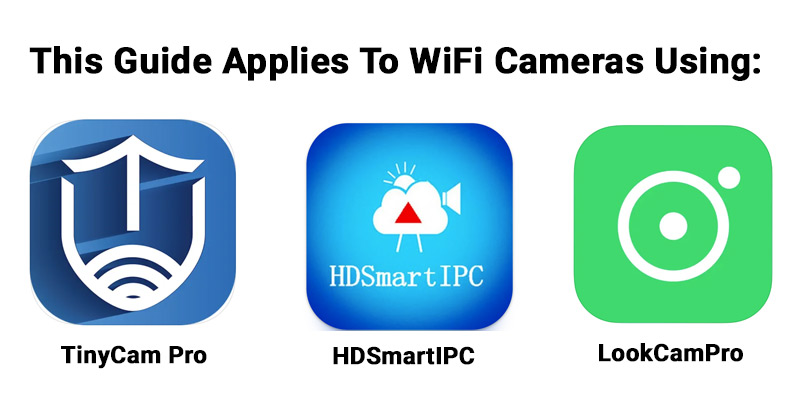
Note: This WiFi troubleshooting guide is for WiFi cameras utilizing the following apps: TinyCam Pro, HDSmartIPC, and LookCamPro
If your camera uses the CamSC app, click here.
If your camera uses the Tuya Smart app, click here.
Table of Contents
- Make Sure to Follow All Setup Steps
- Make Sure You’re Connecting to 2.4GHz WiFi
- Check Password for Special Characters
- Make Sure Camera Plugged into AC Power
- Make Sure Connected to Camera’s WiFi
- Reset the Device to Factory Defaults
- Contact Support
1 . Make Sure ALL Steps in Manual are Followed Exactly

It may sound silly, but the most common reason people run into issues setting up their new WiFi hidden camera is that they skipped a step or didn’t complete all the steps of the setup process in the user manual.
Each of the steps of the setup process is important in connecting your camera to your WiFi network so you can view and access it remotely. You must finish all the steps in the setup process (including connecting the camera to your home’s WiFi network) in order to fully set up the camera, so be sure you’ve gone through every step in the setup process.
It may be helpful to quickly read through the entire setup process before starting the actual setup, so you are familiar with the process.
2 . Make Sure You Are Connecting to 2.4GHz WiFi (Not 5GHz WiFi)
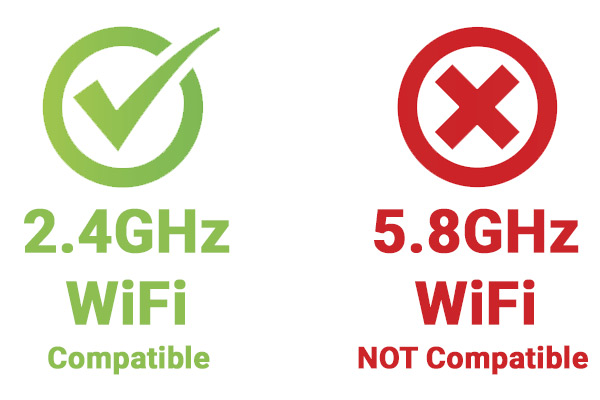
There are two bands that modern routers use – 2.4Ghz and 5GHz. The 2.4Ghz network is very standard and included in virtually every router made and in use today.
5GHz is the newer band that many newer routers also offer. All WiFi hidden cameras need to be connected to 2.4Ghz WiFi networks. If you try to connect it to a 5Ghz signal, it will not connect, so make sure you are connecting to the 2.4Ghz signal.
Not sure if you’re connecting to a 2.4Ghz or 5GHz signal? Oftentimes your router will broadcast a WiFi name with the band in it (such as “Netgear2.4GHz”), so that is the first thing to check. If you’re familiar with your router’s administrator panel you can also check there. If you’re not familiar with that, you may need to contact your internet provider to confirm if the router you are using is broadcasting the correct 2.4Ghz signal for these devices to operate on.
3. Make Sure Password Has No Special Characters

Another common issue is if your WiFi password contains special characters like $, %, @, etc. Passwords with these characters can sometimes cause issues with wireless cameras like these, so if your WiFi password does have these characters in them, you may need to change your password to letters and numbers only.
4. Make Sure Battery Charged and Plugged into AC Power

Depending on which WiFi hidden camera you purchased, for the setup process you should make sure the camera’s battery is fully charged (if applicable) or plugged into AC power. Also make sure the power switch is switched to the ON position (if applicable).
Note: We always recommend that even if your camera is battery powered, that you leave it plugged into AC power for the setup process. After setup is complete, you can disconnect the power, and use the battery power and place the camera where you need it.
Once you power up the camera, it may take 2-3 minutes for the camera’s WiFi signal to begin broadcasting (this is the camera signal that you’ll need to connect to for setup). Most WiFi hidden cameras that we sell have some kind of LED indicator light for power and/or WiFi (see user manual for diagram) that will help indicate when the camera is fully booted up and ready for setup.
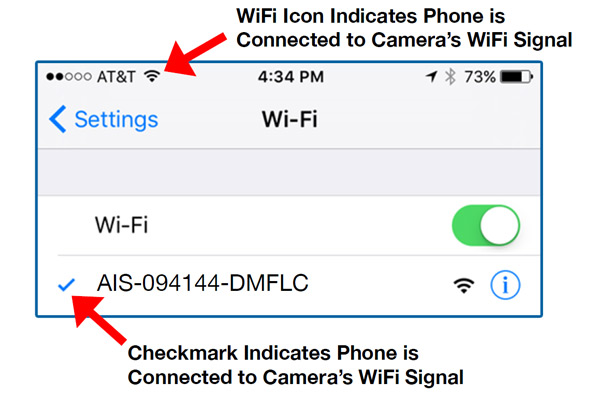
5. Make Sure You’re Fully Connected to the Camera’s WiFi Setup
When setting up your camera, one of the first steps is to connect to the camera’s WiFi signal that it is emitting for setup. This camera signal is for the setup process only, as is in various formats depending on the model of camera. The camera’s WiFi signal name is usually also the camera’s User ID that is located on a sticker on the device itself.
For example, here are a few sample camera WiFi signal names, along with the app name used:
AI_XXXXXXX (TinyCam Pro Cameras)
AIXXXXXXXXXXXX (HDSmartIPC Cameras)
DGK-XXXXXX-XXXXX (LookCamPro Cameras)
During the setup process, you’ll go to your phone’s WiFi settings to look for this WiFi signal to connect to for setup. Make sure your phone is within 2-3 feet of the camera for this process, as this WiFi signal range is limited, since it is only use for the initial setup process.
Once you connect to that WiFi signal, wait until you see either a checkmark next to the WIFi name, or the word “CONNECTED”, indicating that you are connected to the camera’s WiFi signal for the setup process. This may take 2-3 minutes the first time you connect, so please be patient.

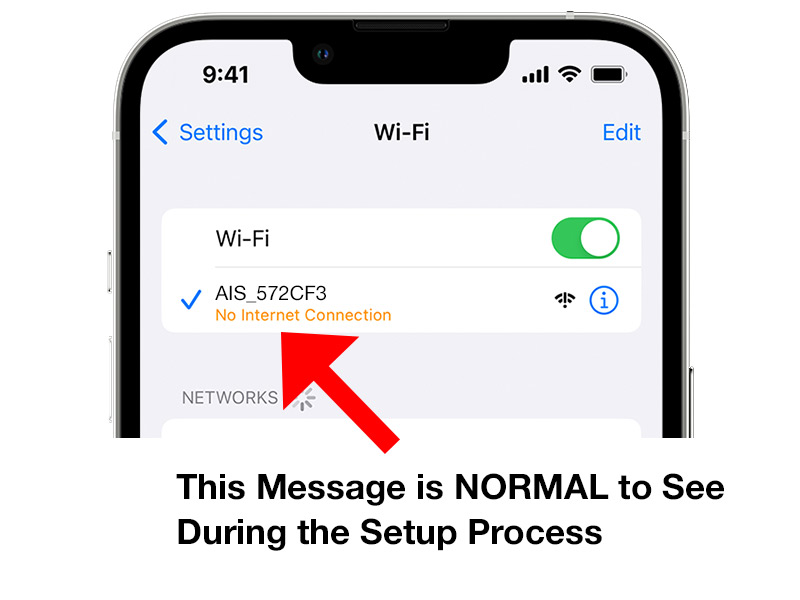
NOTE: You may get a pop up or see a notification that says “no internet access” after you connect to the camera’s WiFi signal – THIS IS NORMAL – simply click OK (Android) or click “Keep Trying WiFi” (iOS), as this message is not important for the setup process.
If you do NOT see the WiFi signal from your device broadcasting (the AIS****, AI****, or DGK signal, we recommend powering off the device, and then turning it back on and resetting the device back to factory default settings.The process for resetting back to factory defaults varies by camera model, so please refer to the next section, as well as refer to the included user manual.Generally, most devices can be reset by pressing and holding the Reset button for 10 seconds, releasing, and then letting the device boot back up, but check with the manual for your specific camera for exact directions.
6. Reset the Device to Factory Settings and Try Setup Again
Sometimes things can happen during the setup process that might be easily fixed through a device reset.
Most of our cameras have a user-acessible reset button so that you can reset the device without having to send it back to our warehouse for factory resetting.
Please refer to your included user manual for the exact reset procedure for your particular device.
In general, the reset process usually consists of three steps:
1. Power the device on and let it boot up
2. Press and hold the reset button for about 10 seconds
3. The LED indicators will turn off, and turn back on as device boots back up
NOTE: The above 3 steps are just GENERAL reset steps – please REFER TO YOUR INCLUDED USER MANUAL FOR THE EXACT RESET PROCEDURE.
If you’re still having difficulty and you’ve gone through all the troubleshooting tips above, please contact our support team and we’ll be glad to further assist you.